Loom make tapes for yourself
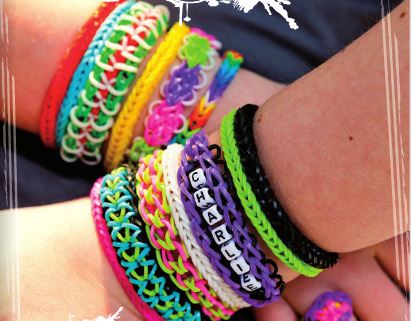
Here, a bracelet for you – because you like it – Colorful Loom Bracelets are just the absolute trend in kindergarten and school. Especially little girls spend much of their free time with the tying of the ribbon. For themselves and of course their girlfriends. Because friendship bracelets are still as popular as in our childhood and youth.
Loom Bracelets can be done quite easily by you. It requires only a Loom (the frame), many colorful rubber bands and a hook and clips to pin the finished tapes.
Meanwhile, there are an infinite number of variations of the Loom Bracelets. Not only the colors, but also in the way how they are made. A simple step-by-step instructions are available on the following pages.
That you need for the colorful rainbow ribbons:
- Colorful rubber bands
- A Loom
- A hook
- S or C-clips
Step 1
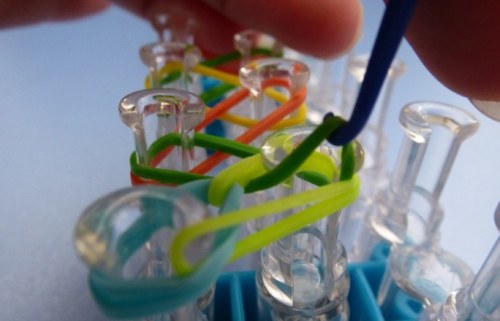
Take the first rubber band and loop it as in the picture diagonally by two pins. Make sure that the average number of pins is set slightly higher.
Step 2
Now take a different colored rubber band and loop it diagonally from the right pin to the center pin.
Step 3
Take another rubber band, and it wraps diagonally to the middle and the right pin.
Step 4
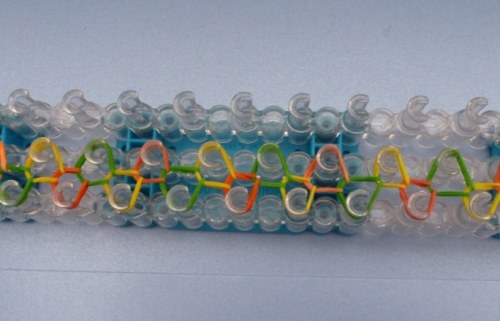
Does that always so on until the end of the Looms.
Step 5
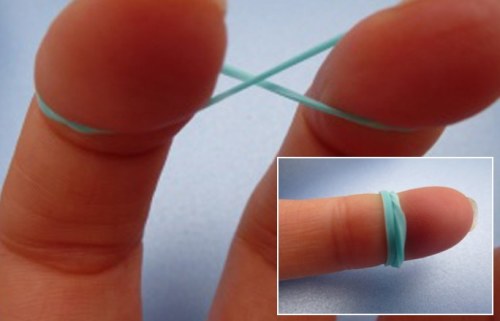
If a rubber band and loop it like an eight to two fingers. Then solves the tape carefully from the fingers, so that the remains Eight, and puts the tape together.
Step 6
Is now the folded strip about the center pin, to which the final rubber was set.
Step 7
Rotates the Loom around now, so that the end piece with the folded belt lies before you. Then take the hook needle, she sticks by the folded light blue band and performs the hook of the needle under the yellow rubber.
Step 8
Pull the yellow rubber over the pin out .
Step 9
And … loop it diagonally over the right pin on the already sits the other end of the yellow gum.
Step 10
Then go with the needle as in the image below to see the green rubber, it pulls slightly and inverts it diagonally on the pin at the other end of the green rubber. So keep going until you have arrived at the end of the loop.
Step 11
Almost there! Take now a s-or c-clip, …
Step 12
… Connect it to the last rubber and solves the tape carefully from the Loop from. Closes the clip to the other end of the tape. Now the bracelet can even be tightened.
Related Posts
